A small plumbing leak might seem like a minor inconvenience at first, but left unaddressed, it can lead to water damage, mold growth, and costly structural repairs. The difference between a plumbing system that holds up for decades and one that fails within months often comes down to one thing: how well the pipes are fitted and tested from the start. At Dees Plumbing & Heating, we have seen first-hand how proper installation prevents the vast majority of household plumbing problems. In this guide, we share the most practical pipe fitting tips for a leak-free home that every homeowner in Dracut, MA should know. Whether you are building new, renovating, or just want to understand what your plumber should be doing, this post covers the essentials in plain language so you can make informed decisions and protect your home from day one.
Why Proper Pipe Fitting Is the Foundation of Leak Prevention
Most residential plumbing leaks do not happen because of bad pipes. They happen because of poor connections. A pipe that is slightly misaligned, an elbow fitting that was not seated fully, or a joint sealed with too little thread tape — these small oversights create points of failure that show up weeks, months, or even years after installation.
According to the U.S. Environmental Protection Agency (EPA), household leaks waste nearly 1 trillion gallons of water annually across the United States, with a significant portion of that traced back to faulty plumbing connections. Plumbing leak prevention starts at the fitting stage, not after water has already appeared on your ceiling or walls.
Getting pipe connections right the first time protects your home, reduces your water bills, and extends the life of your entire plumbing system. Here is how to make sure it is done correctly.
Choosing the Right Pipe Fittings for Each Application
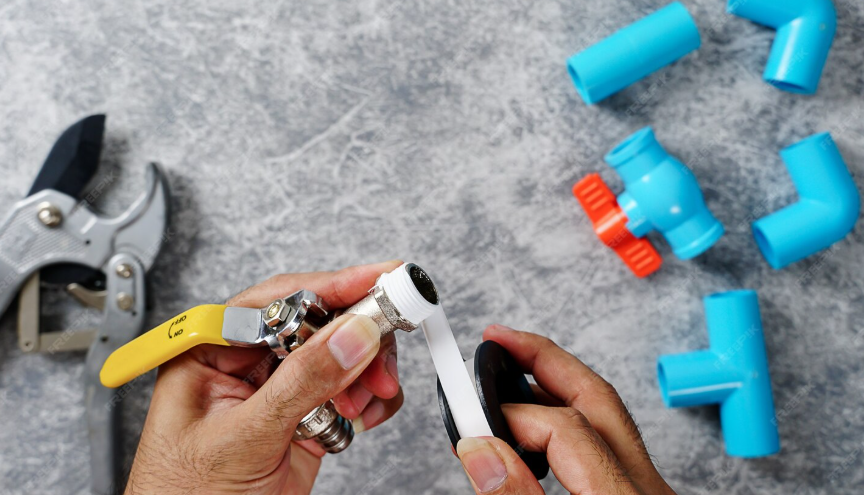
Not all pipe fittings are created equal, and using the wrong type for a given application is one of the most common causes of leaks. Here is a straightforward breakdown of what matters when selecting fittings:
Match the Material to the Pipe
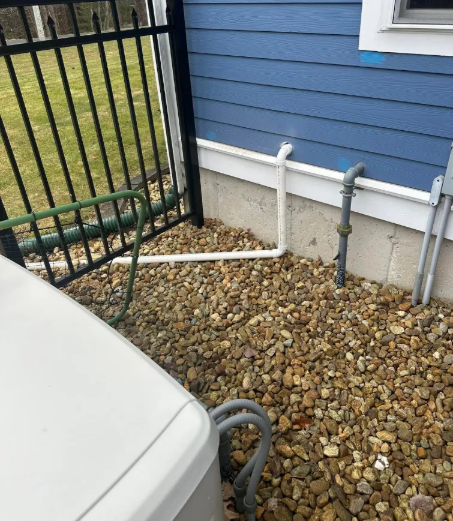
Copper pipes need copper fittings. PEX piping requires PEX-compatible connectors. Mixing incompatible metals, such as connecting copper directly to galvanised steel without a dielectric union, causes corrosion at the joint and leads to leaks over time. Proper pipe connections always start with material compatibility.
Size Matters More Than You Think
A fitting that is even slightly too large or too small for the pipe will not seal correctly under water pressure. Always verify pipe diameter before purchasing fittings. If you are unsure, take a section of the pipe to your supplier or ask your plumber to confirm the specification.
Use the Right Fitting for the Job
Different situations require different fitting types. Elbows change direction. Couplings join two straight pipes. Tees create branch connections. Using the wrong fitting — even if it physically connects — creates stress points that lead to failure under normal household water pressure.
How to Seal Pipe Joints Correctly
Pipe joint sealing is where a lot of DIY plumbing goes wrong. The two most common sealing methods are PTFE thread tape (also called Teflon tape) and pipe joint compound (pipe dope). Knowing when and how to use each one makes a measurable difference.
• PTFE Thread Tape: Used on threaded pipe connections. Wrap the tape clockwise around the male threads — typically two to three wraps — before joining. Wrapping in the wrong direction causes the tape to bunch up and create gaps.
• Pipe Joint Compound: Applied to the threads before connecting. It fills micro-gaps in the thread and hardens to create a watertight seal. Best used on metal threaded joints.
• Push-Fit Fittings: Used with PEX and CPVC pipe. These do not require tape or compound — they rely on a rubber O-ring inside the fitting. Make sure the pipe end is cut cleanly and squarely before inserting.
• Soldered Copper Joints: Require flux and a torch. The pipe and fitting must be completely clean and dry before soldering. Any moisture inside the pipe prevents the solder from flowing correctly.
Whichever method you use, the rule is simple: follow the manufacturer’s instructions for that specific fitting type. Improvising with the wrong sealant is a common cause of residential plumbing maintenance calls that could easily have been avoided.
Pressure Testing Your Plumbing: What It Is and Why It Cannot Be Skipped
Pressure testing plumbing is the step that confirms your system holds water before walls are closed and floors are laid. It is standard practice for professional plumbers and is required under most residential building codes — yet it is frequently skipped in DIY projects and rushed renovations.
How a Basic Pressure Test Works
A pressure test involves isolating a section of the plumbing system and filling it with water (or air, in a pneumatic test) at a pressure higher than normal working pressure. The system is then monitored over a set period — typically 30 minutes to an hour — to check whether the pressure holds steady. Any drop in pressure indicates a leak somewhere in the tested section.
What to Look for During Testing
• Visible moisture or drips at any joint, fitting, or connection point.
• Pressure gauge drops of more than 5 PSI over 30 minutes (in an air pressure test) — a reliable indicator of a leak.
• Soft or discoloured spots on surrounding walls, ceilings, or flooring if testing an existing system.
When You Should Always Pressure Test
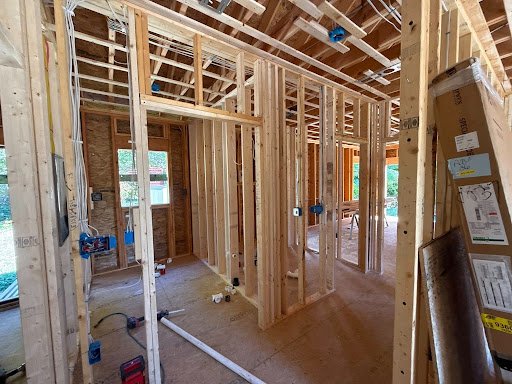
Any time new pipe runs are installed, existing pipes are extended, or fittings are replaced, a pressure test should be completed before the work area is closed up. It is far cheaper to find and fix a leak before drywall goes up than after.
Water damage prevention through proper pressure testing is one of the most cost-effective investments a homeowner can make during any plumbing project.
Common Pipe Fitting Mistakes That Lead to Leaks
Even experienced DIYers make these errors. Knowing them in advance can save you significant time and expense:
• Over-tightening threaded fittings: It seems counterintuitive, but tightening beyond hand-tight plus a quarter turn can crack plastic fittings or strip threads, both of which cause leaks.
• Under-applying thread sealant: One wrap of PTFE tape is rarely enough. Two to three wraps on standard threads, more on coarser threads.
• Cutting pipe at an angle: An angled cut means the pipe does not seat properly in the fitting, leaving a gap. Always use a proper pipe cutter for a clean, square cut.
• Skipping support brackets: Unsupported pipes vibrate during use and place stress on joints. Use proper pipe clips at the recommended intervals for the pipe material and diameter.
• Not allowing solder or compound to cure: Running water through freshly soldered copper or newly compounded joints before they have fully cured damages the seal before it has a chance to set.
These are the kinds of details that separate a plumbing job that holds up for 20 years from one that starts causing problems within 12 months.
Frequently Asked Questions
How do I know if a pipe fitting is leaking if it is inside a wall?
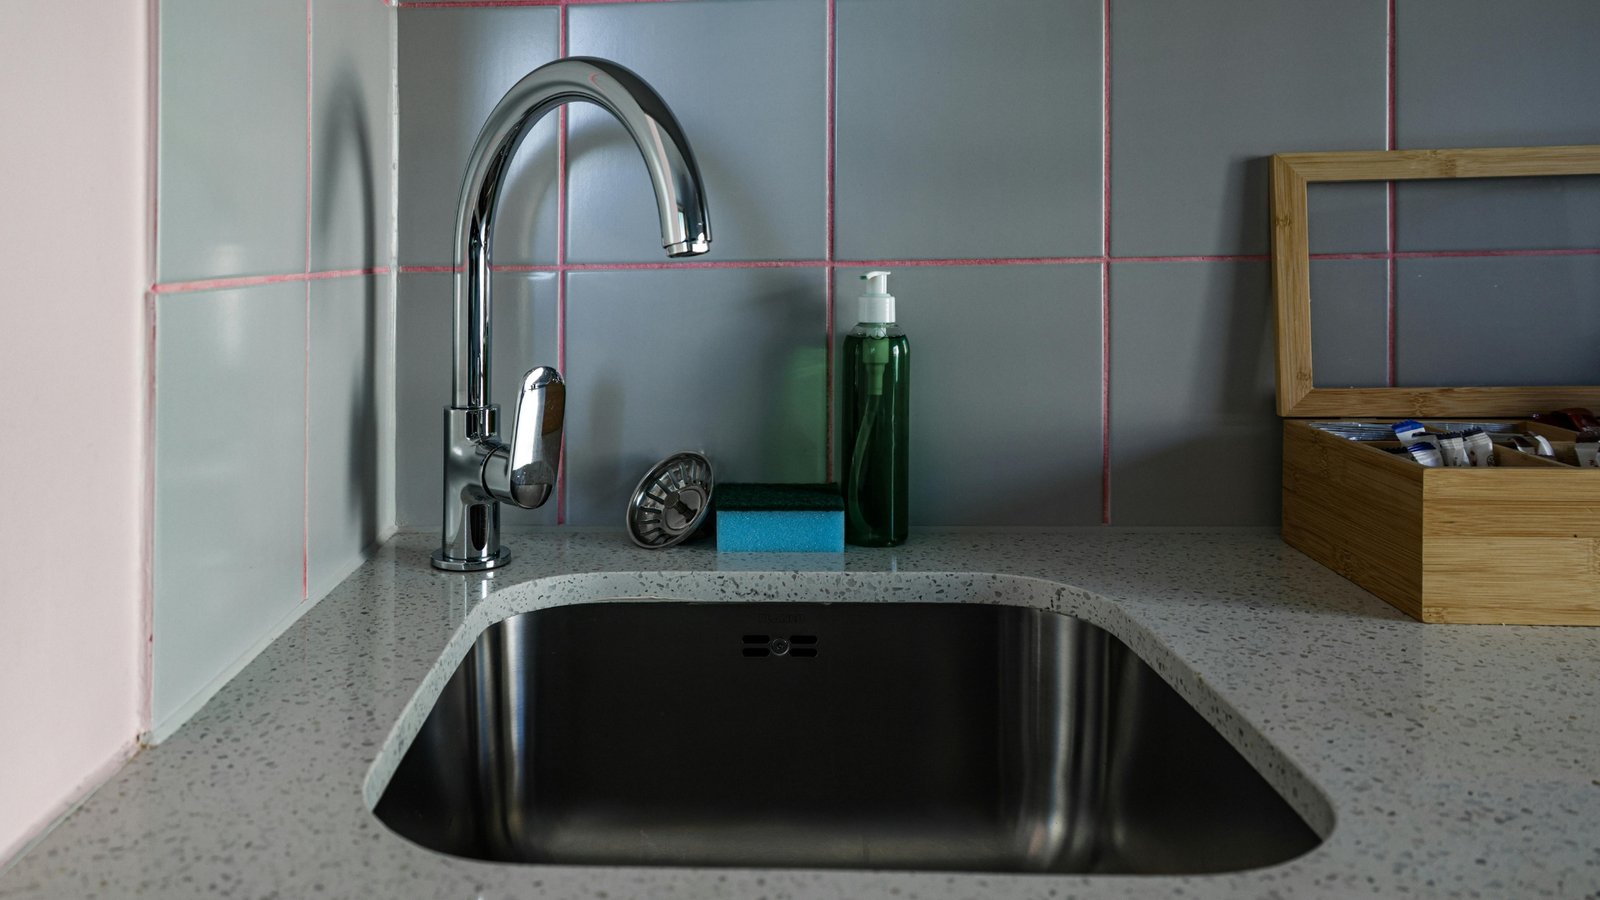
Common signs include unexplained damp patches on walls or ceilings, a musty smell in rooms near plumbing, water stains, or a water bill that is higher than usual despite no change in usage. A licensed plumber can perform a pressure test or use leak detection equipment to locate the source without unnecessary damage to your walls.
Is it safe to use PTFE tape on all types of pipe threads?
PTFE tape is suitable for most standard threaded pipe connections, including water supply lines and gas fittings. However, for gas lines, you should use a tape specifically rated for gas applications (typically yellow PTFE tape). Always confirm the correct sealant for the pipe type and application before starting work.
How often should residential plumbing be inspected for leaks?
A professional plumbing inspection every two to three years is a good general guideline for most homes. Older properties, homes with galvanised steel pipes, or those that have recently had renovation work done may benefit from more frequent checks. Catching small issues early through regular residential plumbing maintenance is always cheaper than dealing with water damage later.
Can I do pipe fitting work myself, or do I need a licensed plumber?
Minor repairs like replacing a washer or fixing an accessible, visible joint are generally manageable for a confident DIYer. However, any work involving new pipe runs, connection to the main supply line, gas pipes, or work inside walls or under floors should be handled by a licensed plumber. In Massachusetts, most significant plumbing work also requires a permit and inspection.
Get It Right From the Start — Call Dees Plumbing & Heating
Following the right pipe fitting tips for a leak-free home is about more than just avoiding drips. It is about protecting the structure of your home, avoiding expensive water damage, and having confidence that your plumbing system will perform reliably for years. From selecting the correct fittings and applying sealant properly to pressure testing before closing up walls, every step matters.If you are planning a renovation, building new, or simply want a professional eye on your existing system, the team at Dees Plumbing & Heating is ready to help. We serve Dracut, MA and the surrounding area with honest, reliable plumbing work done right the first time. Visit deesplumbingandheating.com or call us today to book an inspection or consultation.